photo Italy_zpsvc6cvfx0.png Ebates Coupons and Cash Back

Sunday, August 8, 2010

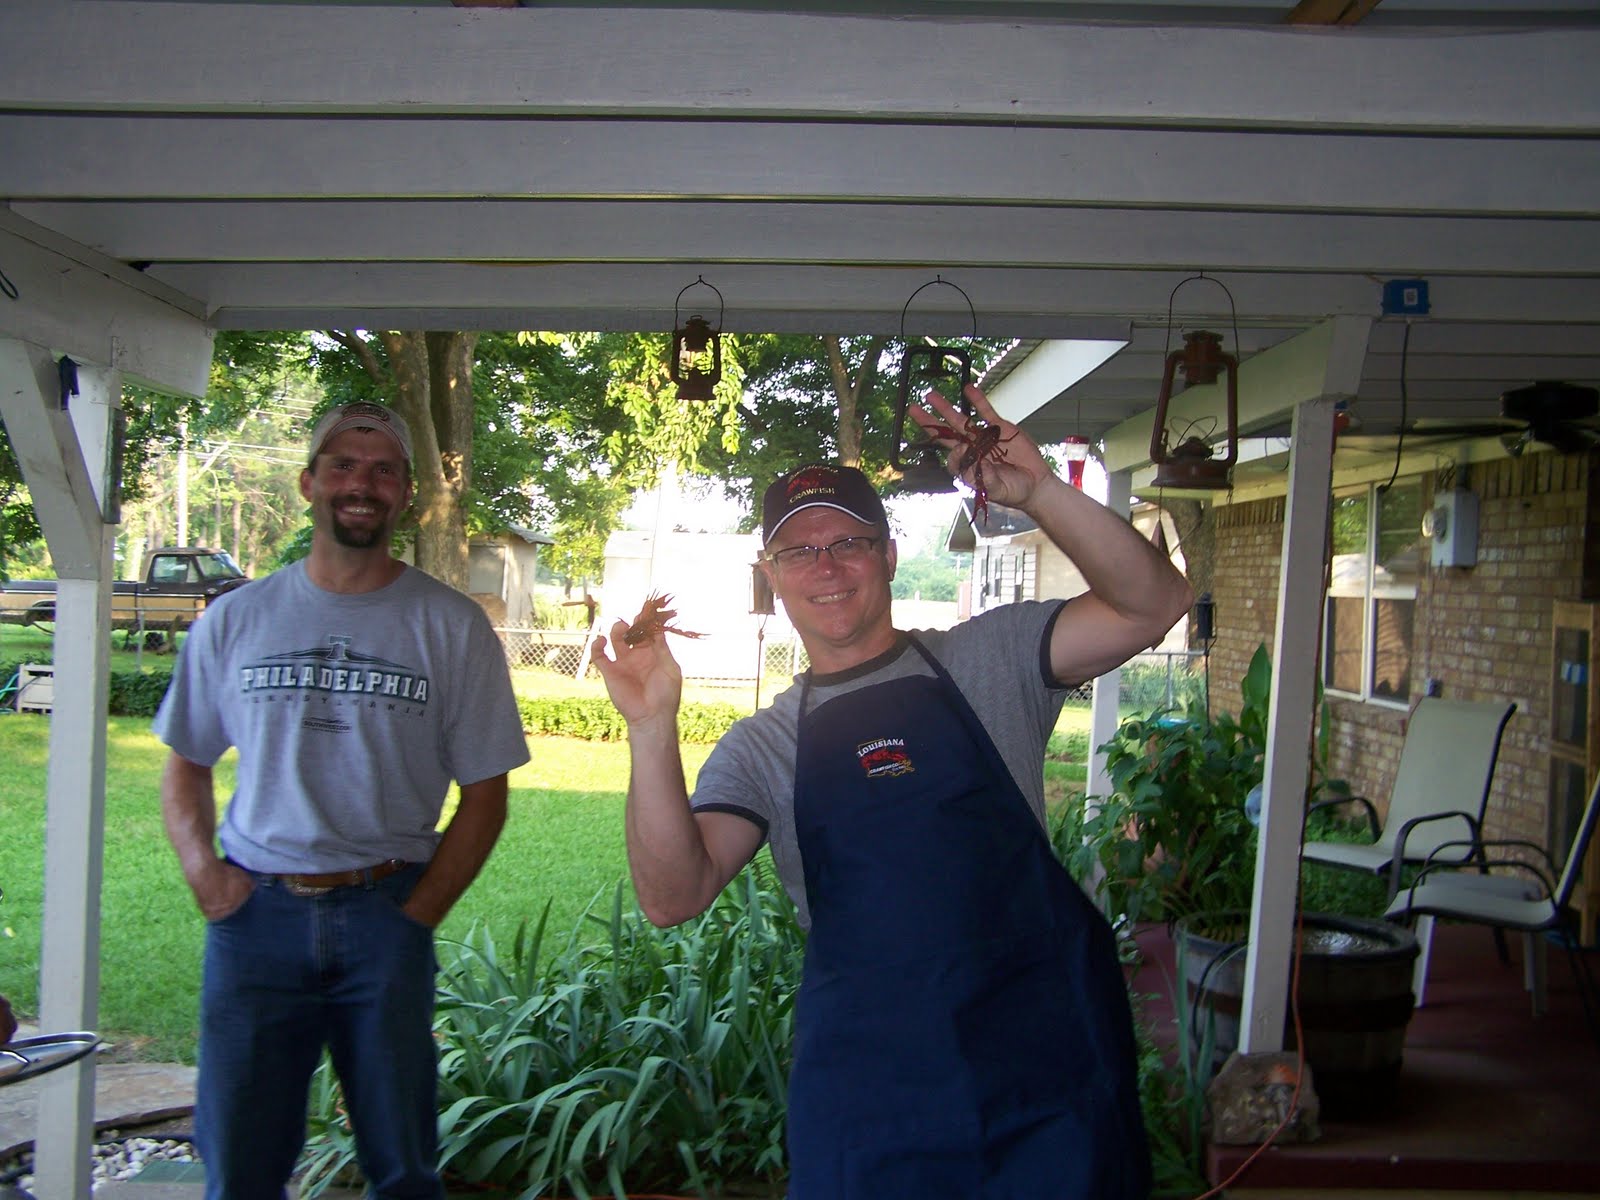
Crawfish Boil 2010

Our crawfish boil 2010 was a big success! Here are pictures of the cook and the food! I got so busy though, I forgot to take pictures of the rest of the night. Maybe next time.


Friday, July 2, 2010

How To Extract Juice From Grapes

We grow our own grapes for jelly making here in our little Oklahoma garden. We have six grapevines that we bought from Lowes and they have produced nicely for several years. This will be my second year to make jelly.

First wash the grapes thoroughly.

The easiest way to extract the juice from your homegrown grapes is to first place the grapes in a food processor. Pulse the processor as many times as necessary to gently crush the grapes. Don't overdo it.

Now pour the grapes into a pot large enough to hold the grapes. Place pot on top of stove on low to medium heat. Heat the grapes until they begin to boil then reduce heat to simmering.

With a large spoon begin to press the grapes as they simmer. Simmering causes the grapes to release even more juice. Keep pressing until you see plenty of juice forming in the pot.

Now, place a small hand held strainer over a large glass measuring cup. Using a measuring cup will help you keep track of how much juice you're getting. Spoon some of the simmering grapes into the strainer (it's hot!) and begin to press with the spoon so that the juice is running through the strainer into the measuring cup. Get as much juice as possible and return those grape skins to the pot. Mix grape skins back into the pot with the rest of the grapes, reheat and repeat the straining until all juice is extracted.

Voila'!!!


Grape skins are all that's left now.

This Year's Grape Crop

Barring the birds and other pests, it looks like this year we're going to have another pretty good crop of grapes. More homemade grape jelly for us! I just picked my first round yesterday. I brought them in and enlisted my daughter's help to remove all the bad grapes and stems. I washed them off in a large strainer and let them sit overnight.

Tonight, I washed the grapes again and have mashed all the juice out which I will freeze until all the rest of the grapes decide to ripen.

Check back in a couple of days for my how to's on making homemade grape jelly.

Tuesday, June 16, 2009

Whiskey Barrel Fountain - How to Make It


We have had ours for several years now and really have enjoyed it. We like drinking our Sunday morning coffee out on the back porch next to it. Here is how to make a whiskey barrel fountain.

http://www.ehow.com/how_5064762_make-whiskey-barrel-fountain.html


Pond Waterfall Leaks

For the umpteenth time we re-did our pond waterfall. Well, maybe it was four times that we re-thought that waterfall. Each time having to remove bolder after bolder out of the way - very heavy stuff and back breaking work. You see, we kept losing water and couldn't figure out why. Finally I did some serious research. The first three times we "fixed" the waterfall never did we realize the liner was key. We had used the liner for the actual pond section only. We had constructed the waterfall out of three flat pieces of flagstone built in a stair step fashion. We piled rocks all along the sides all the way down the waterfall. Each time we made sure the water was being directed onto the stone pieces and no water was splashing out. Well, I guess that wasn't right. Somehow, even though the flat rocks were pointed downwards and water was flowing into the pond, we were still losing water.

After seeing several pond layouts online, a really good site had all the waterfalls being constructed on top of the liner. Not a separate liner, but the same liner that the pond was built around. We remembered we had rolled the extra liner up when we built the pond. So when we removed all the bolders again and unrolled the liner, we had plenty of length left to place under our waterfall. We then proceeded to replace the bolders this time on top of the liner then rolling the extra liner up on the outsides of the bolders, and low and behold we have not lost any water!

Hopefully this will be the last time we have to build our waterfall....